Friday 31 October 2014

Illustrator Induction

Although I had a taste of the use of illustrator before, I am not good at it at all. The induction this morning was basically teaching us the basic skills in using illustrator like the use of pen tool and other functions. I was so confused about the anchor and the line.. I did not think I will be able to master illustrator... 

I played around different shapes and colours which I think it was difficult to get the shapes I want. 


This is a useful practice for me to be more familiar with the use of pen tools and it is just amazing to know how much illustrator is capable with. Following the guide lines are obviously easy but do I really know how to create something on my own? I doubt it. This could be a helpful reference when I need to  investigate illustrator later on.


There are many artistic brushes for the outline of the shape(called the stroke in illustrator) and I was more interested in this part of the induction. There are many brushes that photoshop does not have and they are all awesome! I nearly tested each single brush which I think I might be better to design the shapes after someone has created the lines for me rather than constructing the shapes by myself.


Thursday 30 October 2014

Pose to pose

Pose to pose animation is to decide the key frames and then fill in the frames in between. We are asked to draw a swing pendulum so as to investigate the ease in and out principle by doing so. I have chance to make a timing and spacing plan before the drawing which enable me to get more precise movement and consistence. Easing in and out allows the pendulum to swing logically where I put more frames when the ball begins to swing and less frames when it swings quickly at the centre. I found that ease in and out is usually companied by the arc of action, ease in and ease out is required for a logical movement that make it more realistic. 


This is the planning of the pendulum. I divided the arc into 12 section and the start and end has smaller portion but more frames while the centre has larger portions but less frames. By doing this, I get the outcome below.

It should be a finished swing motion but there is something wrong happened when I upload this online. It turns out only doing one swing… anyway, I think this is a good practice that build up my knowledge and skill on the ease in and out principle.


This ambitious attempt is successful in terms of the character and the illustration but the timing and spacing is not as good as the pendulum. The dog jumps off too slowly and the whole movement seems like happening in a same speed which does not look realistic. If I can do it again, I will put more frames are need when the dog is jump into midair and less frames at the start and the end. However, I am still happy with this attempt and this is a good experiment to challenge myself if I could really apply the 12 principles onto my work. Obviously improvement is needed and I hope I could plan more carefully next time.


Wednesday 29 October 2014

Pixilation(2)

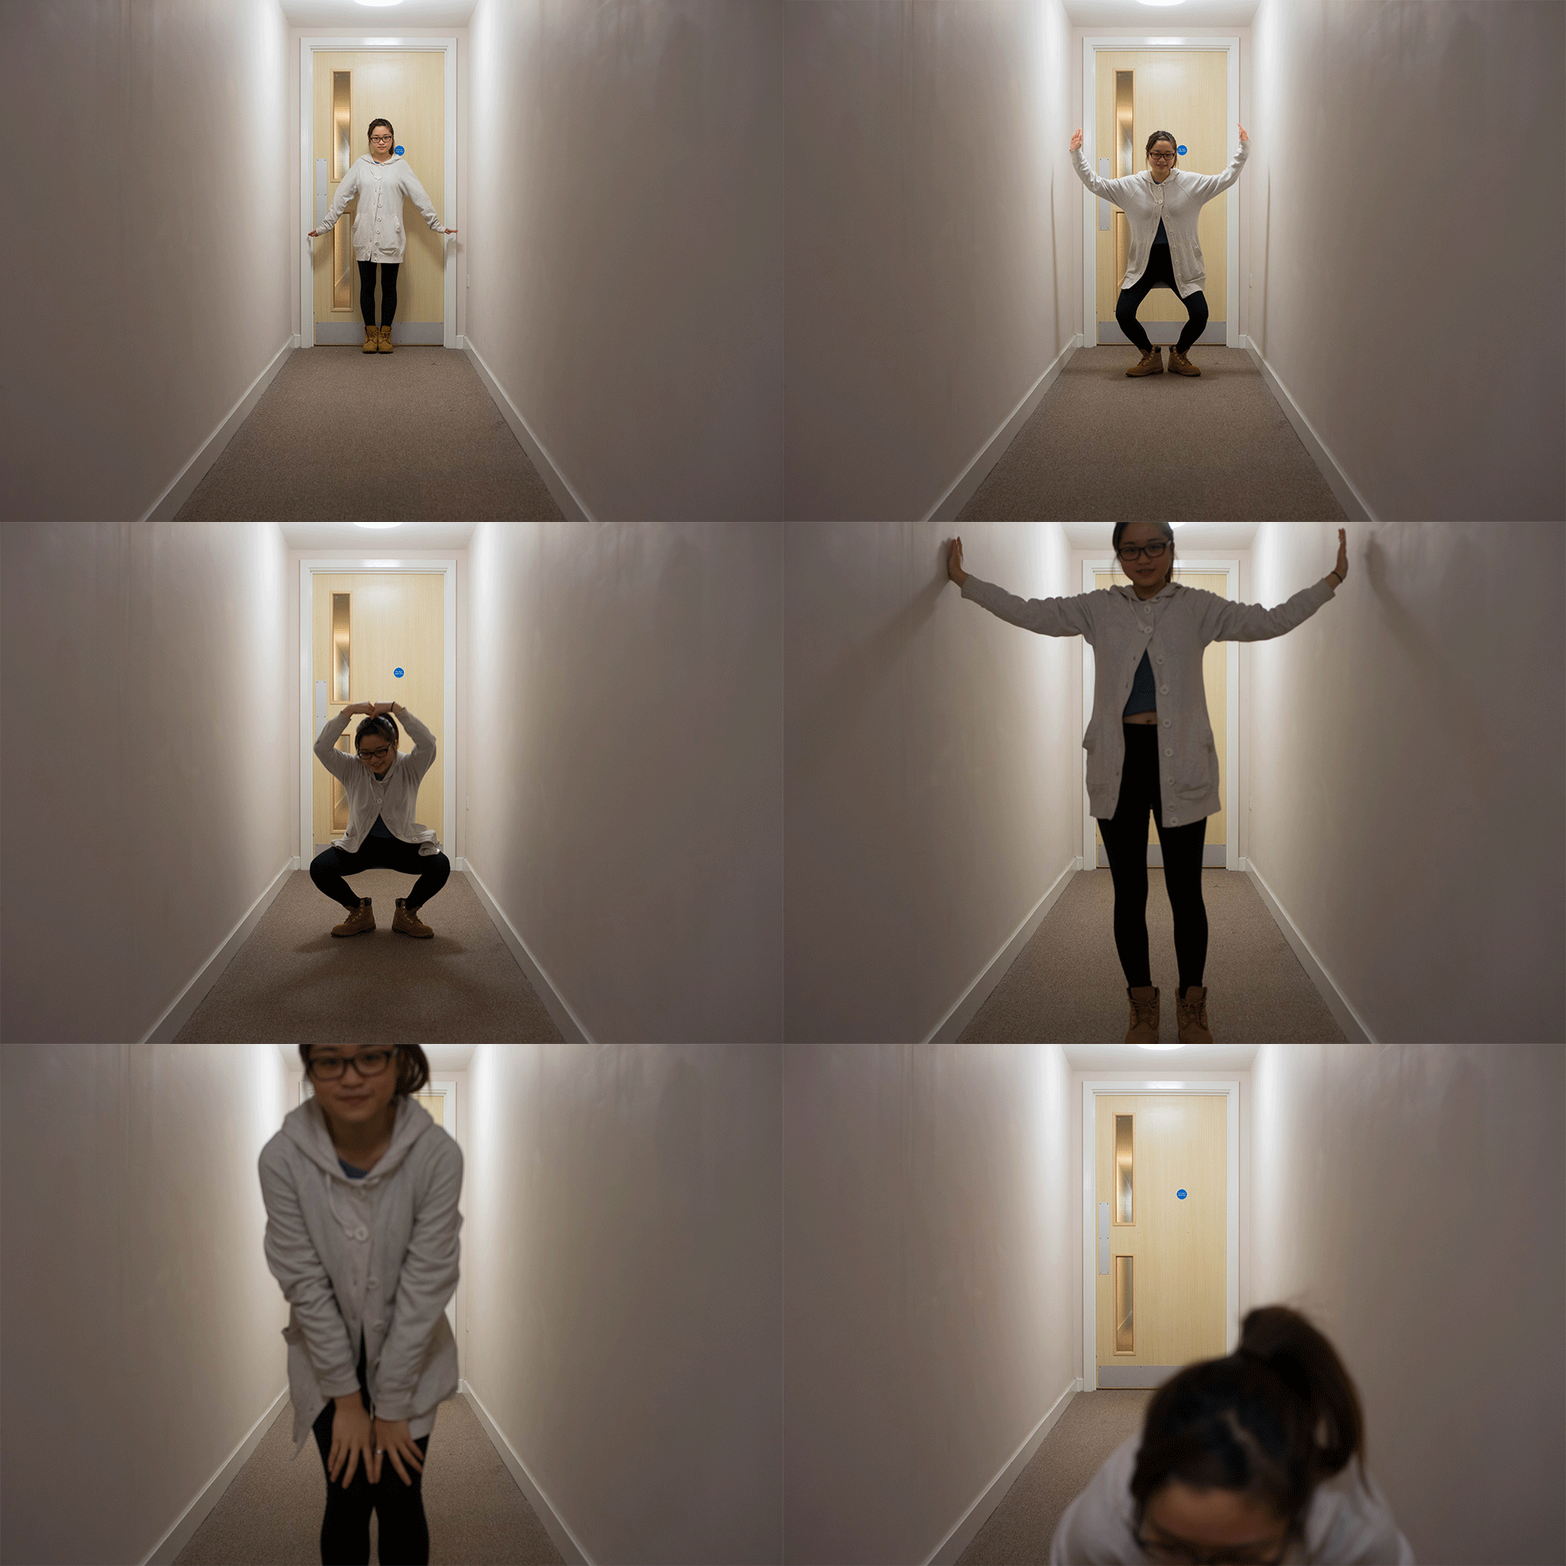
On Sunday, I started the shooting of the pixilation and it started at 10a.m in the morning. I went down from IQ to the Liberty Park where Mary lives and started the first scene at her dome. I was in charge and the director and the actor at that day. Tony was the photographer and Mary was the awesome predator. During the process, there were a couple of changes made due to the unexpected circumstances, for instance I have to change the shooting angles inside the lift so that Tony could avoid getting into the photo due to the reflection of the mirror. I found it more flexible working outdoor as I have a bigger working space but the disadvantage is the need of adjusting the lighting frequently because the daylight will have an effect on the white balance of the photos.

The shooting lasts till the end of day which was out of expectation. At the time we shot the last part of the pixilation in Hyde park was already really dark and cold. The shutter speed became extremely slow in order to get a bright photo which was time consuming and the acting became more difficult in staying still for a long time. The quality of the photos at that particular situation was horrible therefore plan changed! Instead of shooting at a place with no light, we went back to IQ car park where we have constant light supply to continue the pixilation. I think the whole process was very enjoyable and adventurous. I had chance to try out different interesting ideas and had a good time working and playing at the same time.

At that night, I downloaded Final Cut Pro to edit the photos and to convert the photos into video. Unfortunately, the one I downloaded was faulty which did not have he export function so that I was unable to get the outcome until Monday. However, the finished video looks similar to my planned storyboard and I especially like the 360 degree scene where we spent a lot of effort figuring out how that will show a sense of dynamic by pixilation. There are something I want to improve: the timing between each frames. I act too quickly so when I convert the photos into a video, some movements are not clear and slow enough to see which could easily cause confusion; the 

On Monday, Matt helped me to put all the photos into aftereffect. However, The deleted frames caused a big problem that the program could not recognise the order of the frames therefore there are big gaps in the video. I did not impressed therefore I look up to the online video tutorial of the use of adobe brigade and after effect and eventually produced a complete pixilation at the end of the day session. 


Please enjoy!

We had a time to look at everyone's pixilation and flip books. I really enjoy the ideas of their work and how they work perfectly as a team and have a good use of the environment and props to favour the pixilation. I did not get much feedbacks but it seems like everyone was quite impressed?
After all, I found pixilation a fun but time consuming animating method. I extremely enjoy the preproduction and the process which have taught me lot of new skills that can be applied in different area. For instance photography skills and timing and spacing skills when planning an animation. I would definitely do more pixilation in the future and I am proud of what I have done even though it is not perfect because I have already pushed the boundary.

Tuesday 28 October 2014

Pixilation

I was absent on the day Matt did the pixilation brief therefore I looked up the powerpoint on e-studio on the day after. After studying the suggested videos, I am very interested in making one myself and try the floating effect the artists did on their pixilation. From Tuesday to Thursday, I was planning a storyboard for the pixilation using the topic 'predator and prey'. The reason why I chose this is because the other topics are not as visually interesting as the one I chose when I did a rough mind map on those tree topics. What is more, I think this topic can involve a lot of chasing and running actions which would be fun o shot and to watch as an audience.


horribly rough starboard that disable me to estimate the timing. 


The first idea was quite dull and I did not like it because I did not plan a lot for the "technical scene" but too much boring shooting angles and focused too much on the storyline. I decided to play around with the special stop motion effects instead therefore I started another storyboard. The second attempt  is better than the first one in terms of the camera angles, composition and the staging. I had a crazy idea that the predator can chase the prey the Liberty Park tup to the Hyde Park so the whole town could be the stage so as to favour the scenery. For the characters, as every classmates have already grouped together as a team, I asked my best friend to help me with this pixilation and be the predator. 


During the planning stage, I found that it is difficult to estimate the timing of the scenes because the storyboard is not detailed enough to make a time plan. Therefore I tired to roughly put in how many seconds each key frames are going to last when creating the storyboard simultaneously. Since we have to do 12 frame per second, I noticed that there are a huge amount of preproduction work that need to be done!

I did some experiment on Thursday on how to create visually interesting scenes before the actual shooting day. My boyfriend Tony was a good assistant that we communicate and exchange ideas effectively and successfully. I borrowed a tripod and a D1100 Canon camera from the photography department the day before so as to encourage myself to use the school material. The experiments are very useful and enjoyable in notifying the timing and spacing of the actions. For instance, the punching shot, the faster the action, the fewer the frames. It still took me some times to get my head round the right concept and to achieve the best outcome. I learnt to use props to help improve the process after looking at the video 'how to do pixilation' and it does make a big different when involving props in the video in this case, a coat.

I moved too fast, need to reduce the distance I moved.

I like the floating effect. It is so tiring doing this but extremely fun! look at my hair!

I used my shoes to pretend I was diapering slowly in the last few shots. It works but I can see the shape of the shoes under the coat straight away therefore I want to use another materials that are more alike human.

The swinging movement is quite strange... I do not like it and again I moved too fast.

This punching action does not work before there is no ease in and out involved. Therefore I tried reducing the frames.

this punching only contains 6 frames but it shows the speed better that the one above. 

The overall movement is smooth but I think it would be better if the shocking pose could lasts longer to allow audience to feel the shock.

This is how it looks when the shocking pose elongated. I personally prefer this exaggeration of presenting emotion of a character.

After the experiments, I think I can improve it by planning the shot in better details before hand like to plant the speed of the action and more importantly the timing and spacing. I found that I need to explain my ideas to the others more clearly so as to ease the working process and avoid confusion.

Photoshop Induction

Today we learnt to use the video frame tools in photoshop to create an animation.
1. New file -> HDTV
2. Set the time (frame time)
3. New video layer
4. Allow onion layer effect 
This is useful and handy to use an animating method as I can precisely trace the previous illustration without flipping the paper constantly which improve the quality of work and time saving. It is also useful in calculating the timing and spacing correctly. I have a better control and overview of the whole animation and which also teaches me that if I want smoother actions, reporting a single frame to avoid big jump seems like the only solution. But I get really tired looking at the monitor screen all day and getting bored repeating the same frame.

A practice of the basic of bouncing a ball was a good start of a day to allow myself familiar with the tablet and the new working approach.

 
I was being ambitious to a character but I lost patient at the end and just wing it. I do not like this as I think the quality of line needs improvement and the stretch and squash needs to be planned more carefully.


After reading the animation toolkit last night, this movement came to my head and I am happy with is  due to the smooth action.

What is more, I found it really hard to work on tablet. Although it is fast and productive, it is hard to not look at where I draw while drawing (if that make sense to you). I can not handle the strength and speed when drawing through tablet so I prefer the traditional way of producing an animation. However, it was still useful to try out different approaches which would these photoshop induction would definitely improve my digital drawing skill.

Compare to the previous lesson, I enjoy using video frames more than frame by frame because it is way more convenient and time saving. Frame by frame could easily create mistakes due to the large amount of layers and video frames is more similar to the traditional animating method. 

The 4 elements task

I did not enjoy it because I was too tired to focus and generate ideas... but I believe it will be a good practice on the use of tablet and animation skills.
 Rough plan


my little water character.

Thursday 23 October 2014

Photography Induction

In today's photography induction, we are introduced to the photography suite, looking around the studios and have chance to rent a camera and to play with. We had a quick introduction about the performance of the camera for instance different keywords, Aperture and shutter, and ISO etc. Even though I have a camera, I use it instinctively but do not understand the mechanism behind. Therefore it is really useful to listen to these information in order to take control of the camera instead of letting the camera to control the outcome. I always confused about the numbers on the camera like small value is large aperture so let in more light which can be easily messed up. We also learn to format and reset the camera so that we will have more data to shoot and the set the correct size of photos.

We need to take four pictures using different modes and settings. 1) Fast shutter speed 2)Slow shutter speed 3) Large aperture value 4)Small aperture value. I am so excited to go out and shot the moving cars and busy road but since it was raining, I stay indoor to look for anything interesting. It was harder than I thought to start off as I have no plans therefore I joined the others to get some inspiration. We took photos of the water machine and try to freeze the water. I experiment different settings and repeat shots after shots. Theoretically, how much movement blur on photo depends on the shutter speed and fast shutter speeds can freeze movement while slow shutter speeds will blur and movement. However, my photos seems out of logic...maybe the shutter speed is not fast enough? or ISO is needed to support the reduce of light when using fast shutter speed.

experimenting with different shutter speed. Tool: water machine.
Fast shutter speed that can freeze water
Faster shutter speed that can freeze water even better.
I tried an extremely fast shutter speed which turns out very dark because not enough light is captured and I did not turn down the aperture and high ISO value to support the shooting. Once I noticed the setting is wrong, I changed it immediately to try another shot to see if the photos have improved.
Wrong focus! Oops!

Found the second year students playing at shadow.
Large aperture value, the background blurs beautifully while the focus point is sharp and bright.

Slow shutter speed and spin around. I think it is how light painting works? but i like the still photo better as it gives more information and definition.
The shutter speed is not fast enough to get a sharp jumping movement but it gives that dynamic movement of the action.
Very slow shutter speed that the dancing Max nearly disappear from the photo. 

It is really hard to work alone and cooperation with others would always get supports and better results. I was really happy experimenting with others and I get inspired by their ideas. I should have taken more photos to experiment and need to try manual mode  to see if I really understand the mechanism behind. It is challenging to handle the shutter and aperture together .

At the end, we looked at the professional lighting equipment that can be used on different kind of photo shots. We took photos of the plastic model with hard light and soft light. I have learnt the the angle of lighting will  affect the shapes of the models or the atmosphere. 
Without the light reflecting board, the side is shaded and very natural overall
With the light reflecting board. The side is bright but the light is harsh and not natural.

It was a productive and useful induction and I really enjoy what I have learnt. 

Sunday 19 October 2014

Photoshop Induction 2

We were told yesterday to bring our flip books to today's photoshop induction in order to make some frame by frame animation in the computer. I had made a lot of gifs since last year therefore this is like a recap of memory but I have also learnt something new today.


We started off scanning the pages into the computer using the school scanner where I can preview the scanned images and select the parts needed before the actual scanning so as to safe time cropping. The scanned images are not similar in sizes, colour and even contrast therefore I need to edit them in photoshop using the crop tool, to get the same size of each image; brush tool, to get a clean background; image size, to reduce the resolution. I have spent most of the time on editing and I am getting so bored and tired doing that…


Basically the frames are joined together by using timeline in photoshop and they can be then shown like a digital flip book. I think it is better than the actual flip book because the images are shown more fluent and smooth while mistakes can be corrected immediately as well which is extremely convenient and time-saving. However, the preparing work may take a lot of time for instance scanning and editing.


I want to try add some colours to these gifs at the weekend! 
I