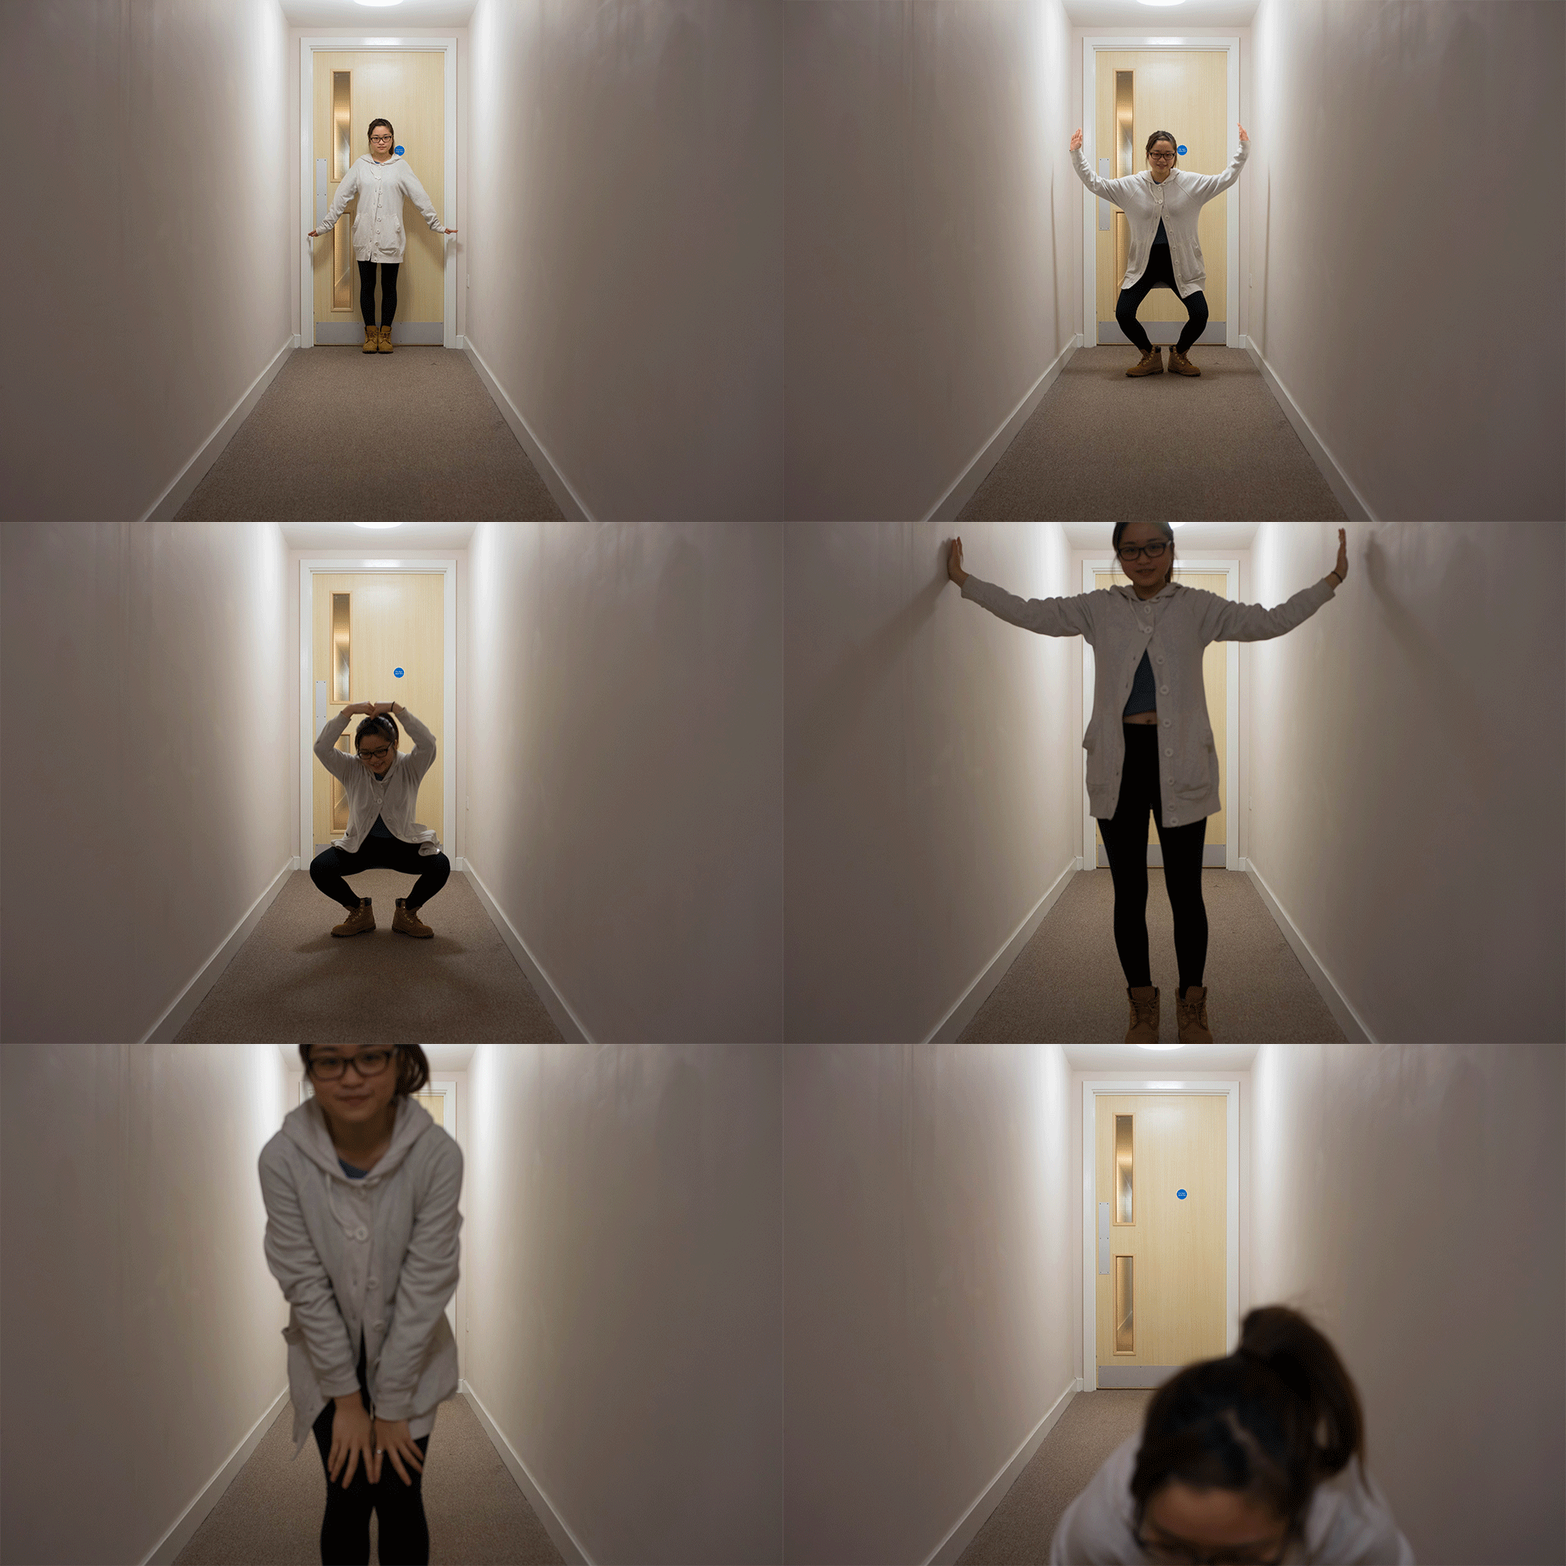
I was absent on the day Matt did the pixilation brief therefore I looked up the powerpoint on e-studio on the day after. After studying the suggested videos, I am very interested in making one myself and try the floating effect the artists did on their pixilation. From Tuesday to Thursday, I was planning a storyboard for the pixilation using the topic 'predator and prey'. The reason why I chose this is because the other topics are not as visually interesting as the one I chose when I did a rough mind map on those tree topics. What is more, I think this topic can involve a lot of chasing and running actions which would be fun o shot and to watch as an audience.
horribly rough starboard that disable me to estimate the timing.
The first idea was quite dull and I did not like it because I did not plan a lot for the "technical scene" but too much boring shooting angles and focused too much on the storyline. I decided to play around with the special stop motion effects instead therefore I started another storyboard. The second attempt is better than the first one in terms of the camera angles, composition and the staging. I had a crazy idea that the predator can chase the prey the Liberty Park tup to the Hyde Park so the whole town could be the stage so as to favour the scenery. For the characters, as every classmates have already grouped together as a team, I asked my best friend to help me with this pixilation and be the predator.
During the planning stage, I found that it is difficult to estimate the timing of the scenes because the storyboard is not detailed enough to make a time plan. Therefore I tired to roughly put in how many seconds each key frames are going to last when creating the storyboard simultaneously. Since we have to do 12 frame per second, I noticed that there are a huge amount of preproduction work that need to be done!
I did some experiment on Thursday on how to create visually interesting scenes before the actual shooting day. My boyfriend Tony was a good assistant that we communicate and exchange ideas effectively and successfully. I borrowed a tripod and a D1100 Canon camera from the photography department the day before so as to encourage myself to use the school material. The experiments are very useful and enjoyable in notifying the timing and spacing of the actions. For instance, the punching shot, the faster the action, the fewer the frames. It still took me some times to get my head round the right concept and to achieve the best outcome. I learnt to use props to help improve the process after looking at the video 'how to do pixilation' and it does make a big different when involving props in the video in this case, a coat.
I moved too fast, need to reduce the distance I moved.
I like the floating effect. It is so tiring doing this but extremely fun! look at my hair!
I used my shoes to pretend I was diapering slowly in the last few shots. It works but I can see the shape of the shoes under the coat straight away therefore I want to use another materials that are more alike human.
The swinging movement is quite strange... I do not like it and again I moved too fast.
This punching action does not work before there is no ease in and out involved. Therefore I tried reducing the frames.
this punching only contains 6 frames but it shows the speed better that the one above.
The overall movement is smooth but I think it would be better if the shocking pose could lasts longer to allow audience to feel the shock.
This is how it looks when the shocking pose elongated. I personally prefer this exaggeration of presenting emotion of a character.
After the experiments, I think I can improve it by planning the shot in better details before hand like to plant the speed of the action and more importantly the timing and spacing. I found that I need to explain my ideas to the others more clearly so as to ease the working process and avoid confusion.


No comments:
Post a Comment